Overview
Ticket Templates control what your end-users see and select when they submit a ticket through the Client Portal. Templates can be scoped to specific clients or tags, as well as pre-set ticket properties, and include branching (conditional) question logic so end-users only see the questions relevant to their answers. This branching structure keeps end-user forms short and relevant, reducing noise for the end-user while still capturing all the structured data needed on the back end. This article walks through how to build a template, how the conditional/branching logic works, and what the end user actually experiences when submitting a ticket.Part 1: Creating a New Ticket Template
- Log in to MSP Process.
- Navigate to AI Service Desk > Client Portal > Ticket Templates.
- Click Create New.
- This opens the template setup wizard.
Basic Setup
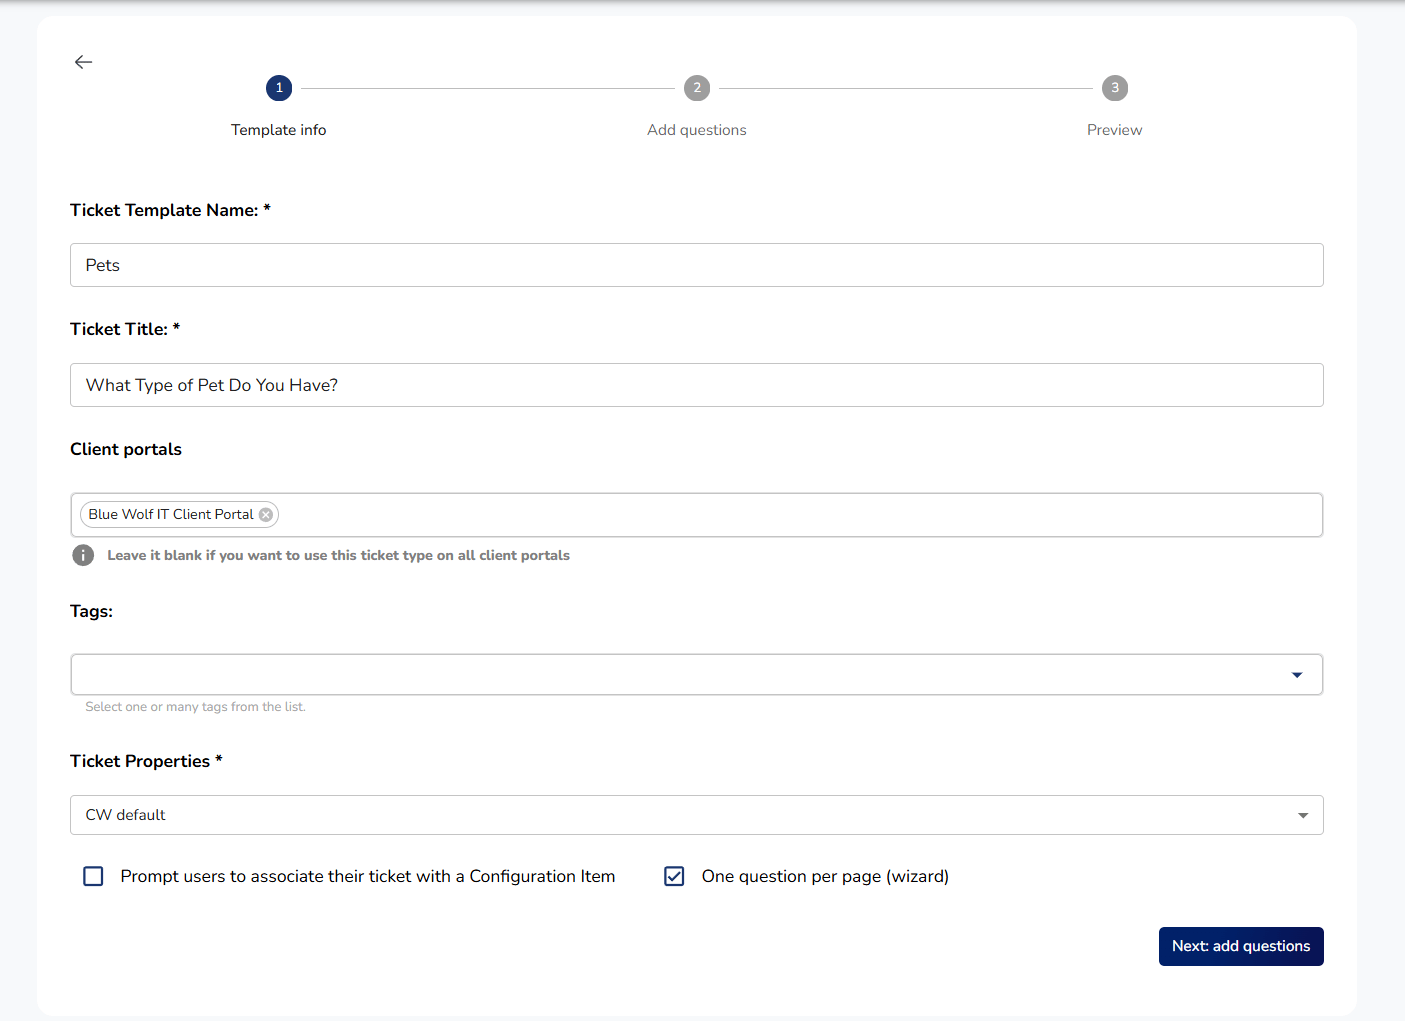
On the first screen of the wizard, fill in:- Ticket Template Name – Internal name, visible only within MSP Process (used for admin identification).
- Ticket Title – The name end-users will see when selecting this form in the Client Portal.
- Client Portals: Select which client portals can see this template. Leave this field blank to make the template available to all clients.
- Tags: Optionally add tags to restrict visibility further
- For example, showing a template only to users tagged HR or Managers.
- Ticket Properties
- Select the ticket properties that should be automatically applied when a ticket is created from this template (e.g., priority, queue, category).
- Please review more information about Ticket Properties in the Configuring Ticket Properties for SMS-sourced Tickets KB.
-
Additional Options
- Prompt user to associate ticket with a configured item
- One question per page (wizard mode)
- Enable this checkbox to display each question on its own page/step rather than all at once.
Part 2: Adding Questions and Conditional Logic
- Click Add Questions, then Add Question to begin building the form.
- Question Types Available
- Title
- Text Field
- Single Checkbox
- Multiple Checkboxes
- Radio Group
- Question
How Conditional/Branching Logic Works
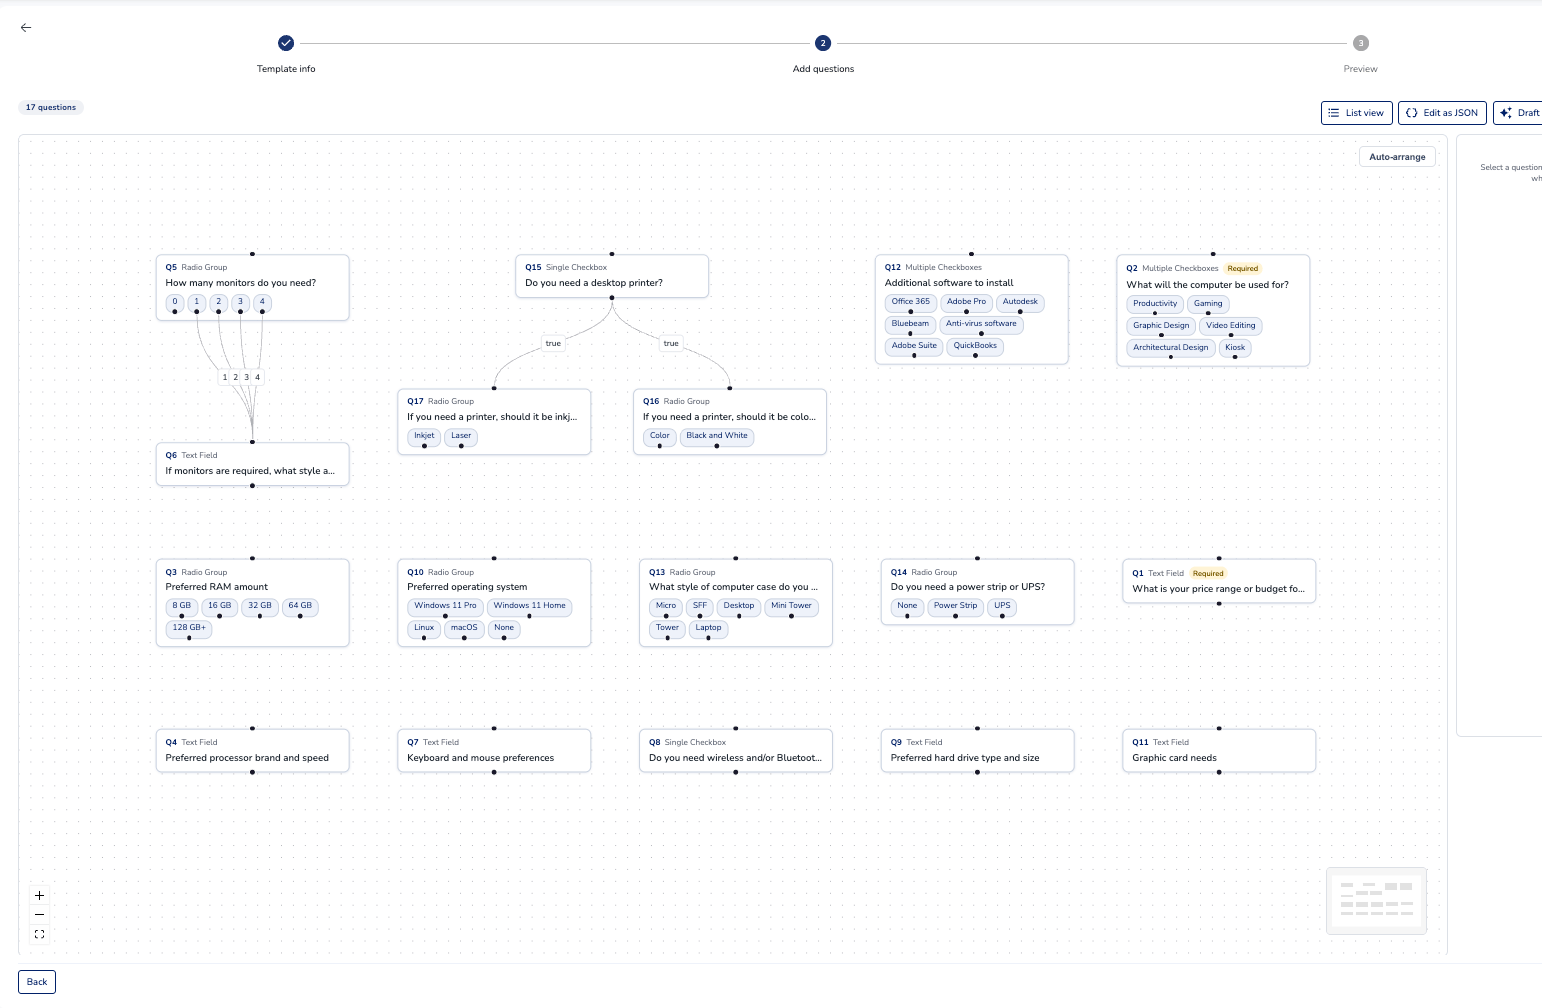
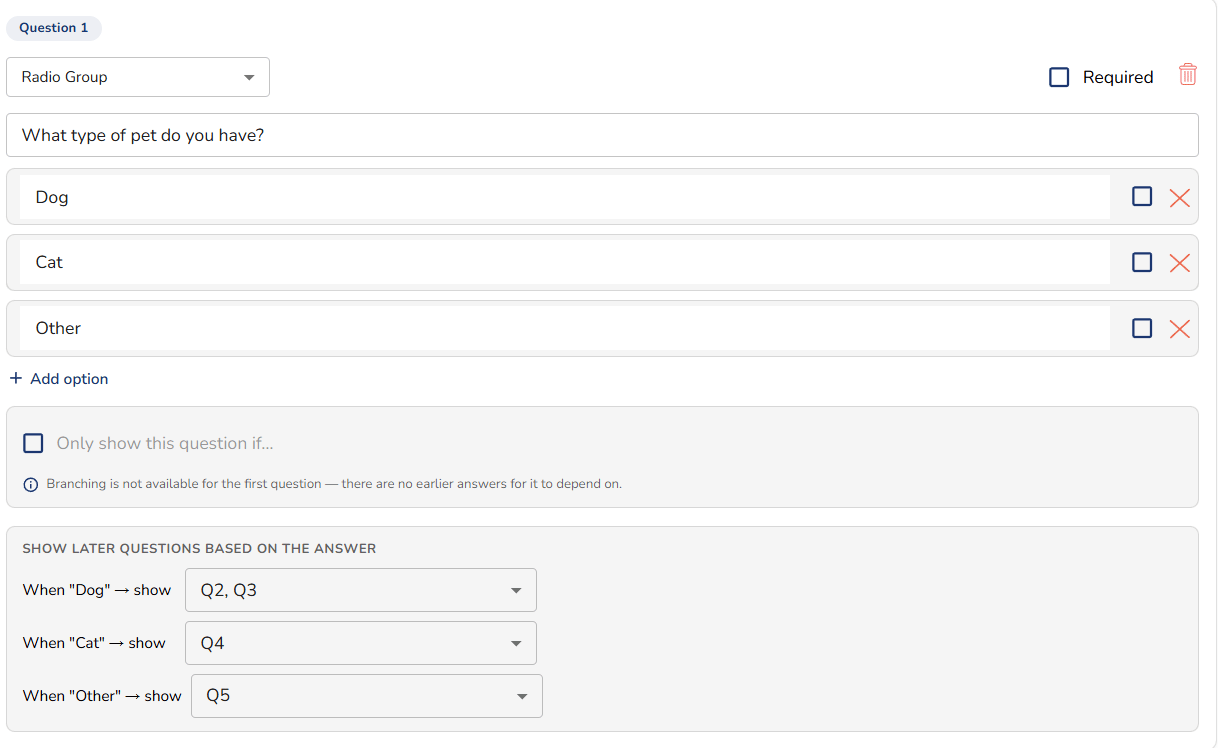
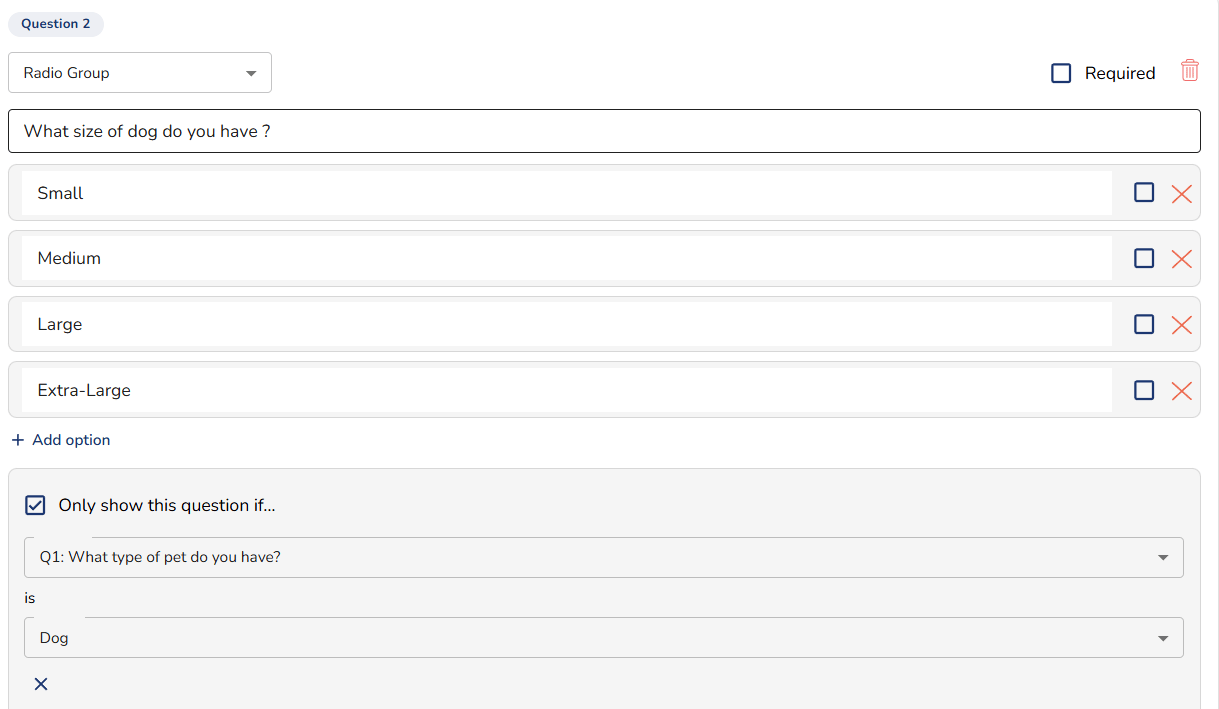
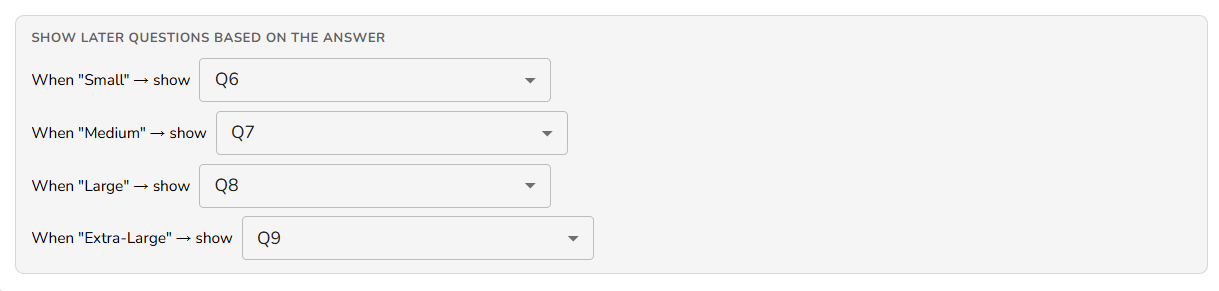
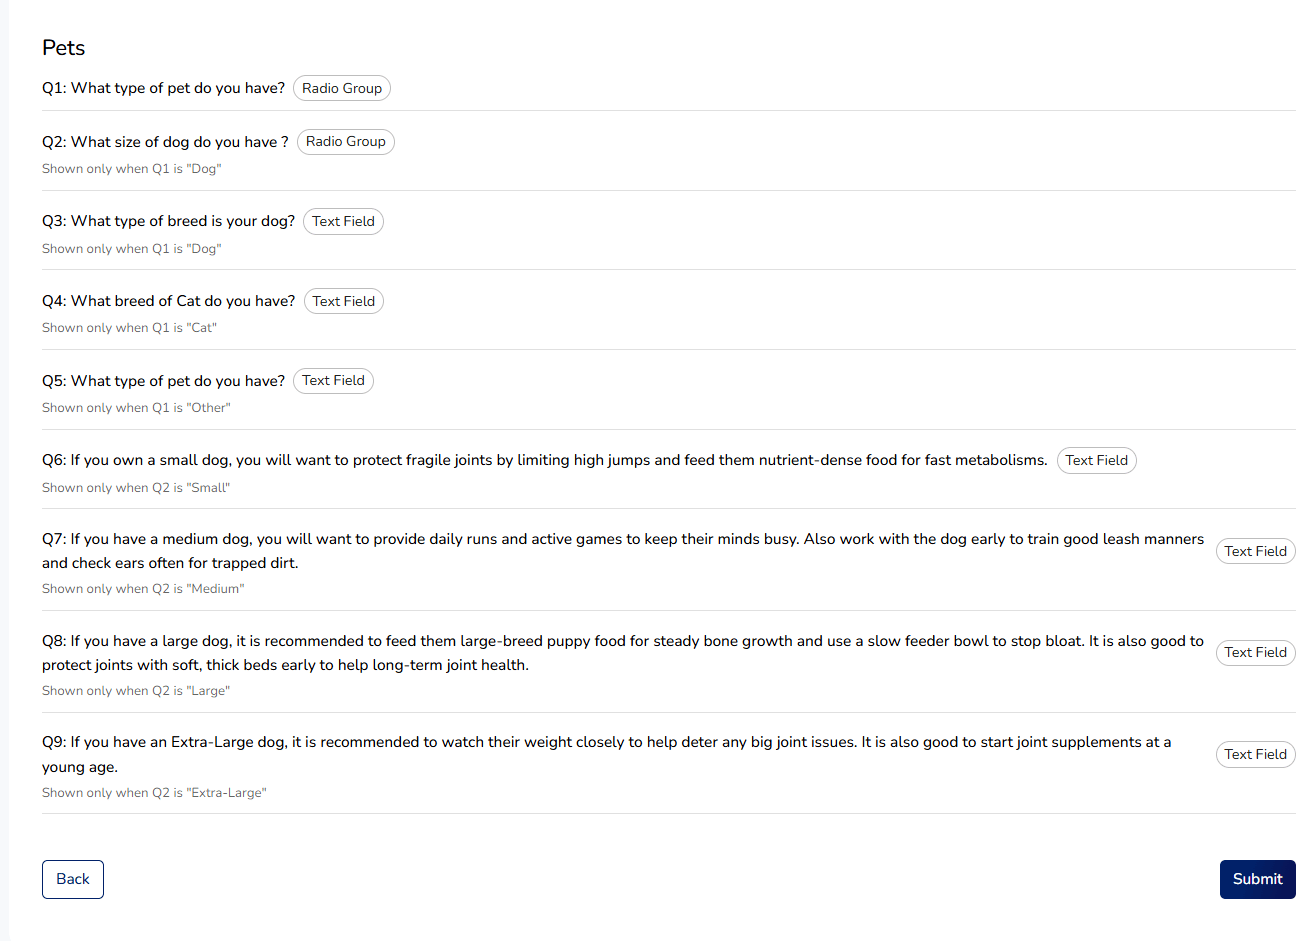
Branching logic allows an answer to a single question to determine which follow-up question the end-user will see next. The form will adapt in real time instead of showing every question to every user. Example used in this walkthrough: Question 1: “Do you have a dog?” — set up as a Radio Group with options: Dog / Cat / Other Based on the option selected, the template routes to a different next question:- Select Dog → routes to Question 2 (size) and Question 3 (breed)
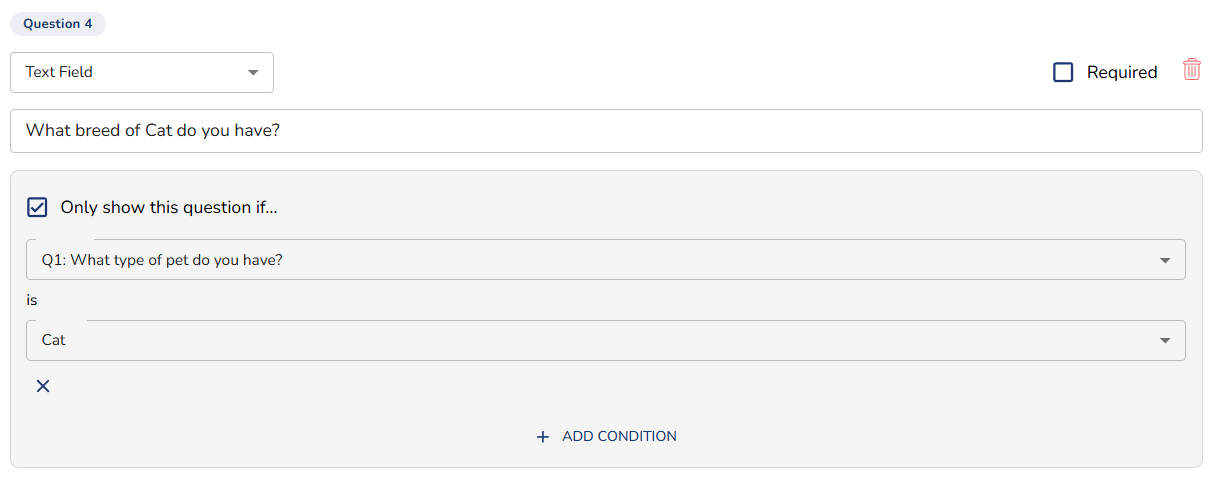
- Select Cat → routes to Question 4 (breed of cat)
- Select Other → routes to Question 5 (what other pet)
 |
|---|
  |
 |
Finishing the Template
- Once all questions and branches are configured, click Next.
- You’ll see a preview of the full question set as configured.
- Click Submit to save and publish the template.
Part 3: The End-User Experience (Client Portal)
Here’s what happens on the client side once the template is live:- The end user logs into the Client Portal and clicks Create New Ticket.
- They select the form/template by its Ticket Title (the name set earlier in the wizard).
- If one question per page was enabled, each question appears as its own step.
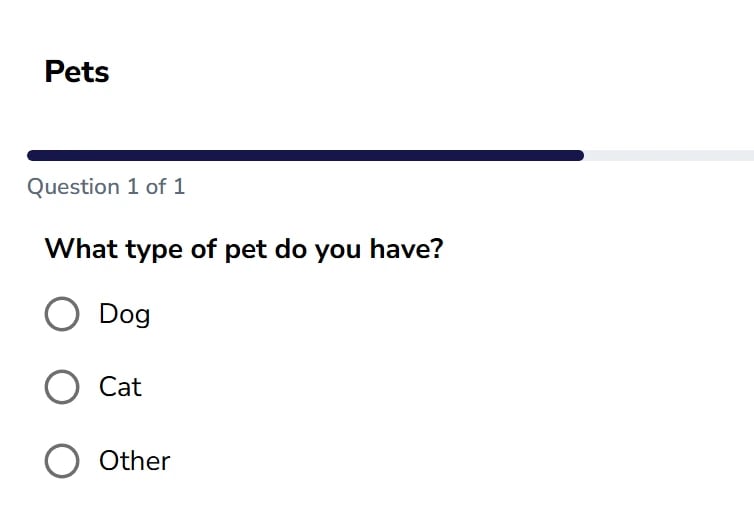
- The user is asked: “Do you have a pet?”
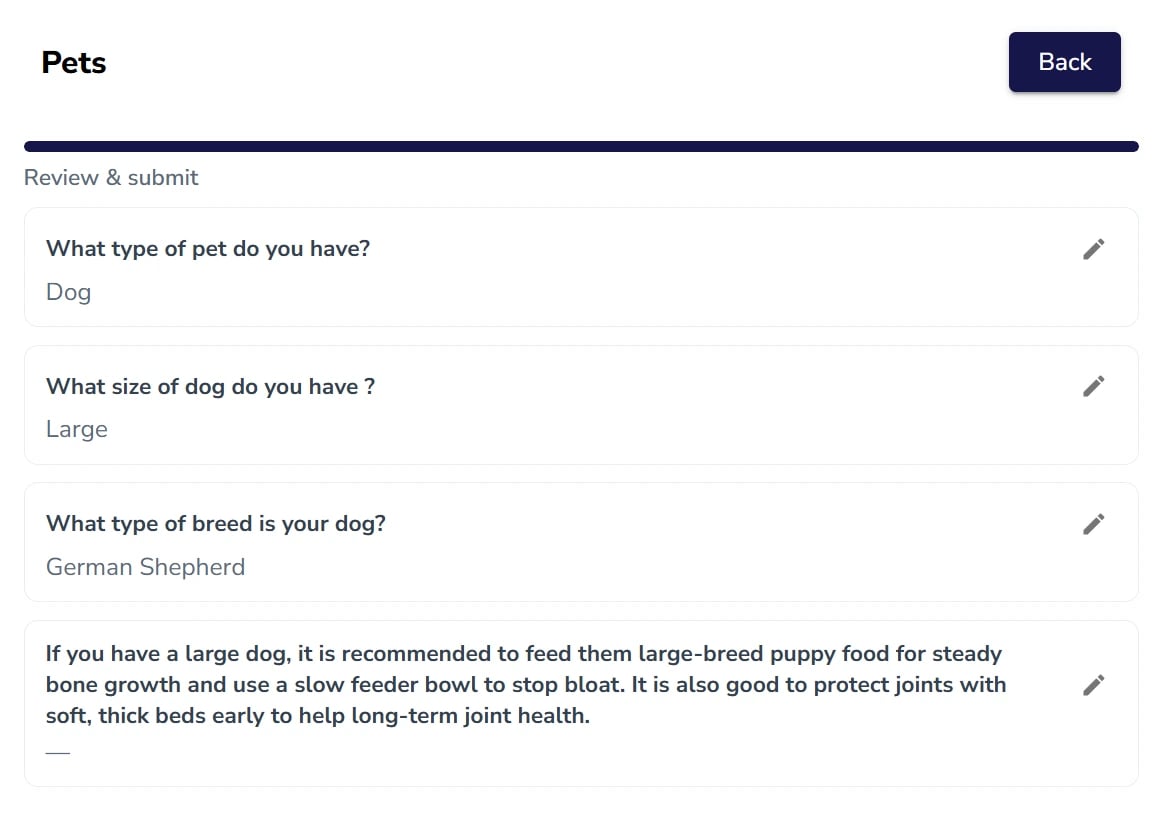
- If they select Dog → they’re prompted for size of dog, then breed of dog → then Review.
- If they select Cat → they’re prompted for breed of cat → then Review.
- If they select Other → they’re prompted for what other pet they have → then Review.
 | |||
|---|---|---|---|
| Dog | 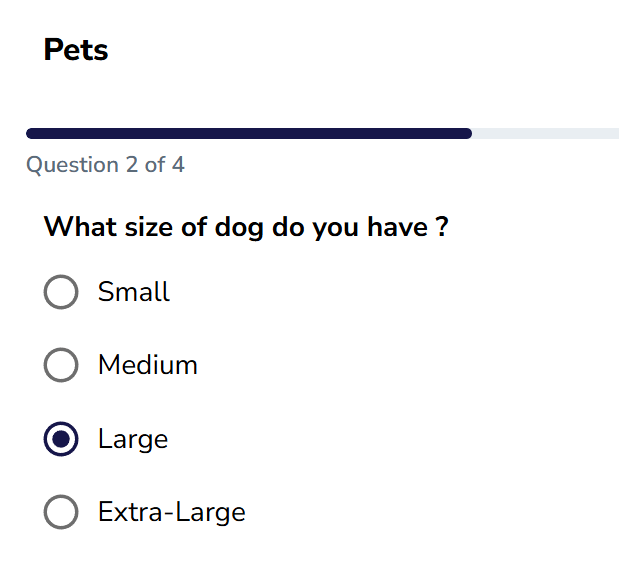 | 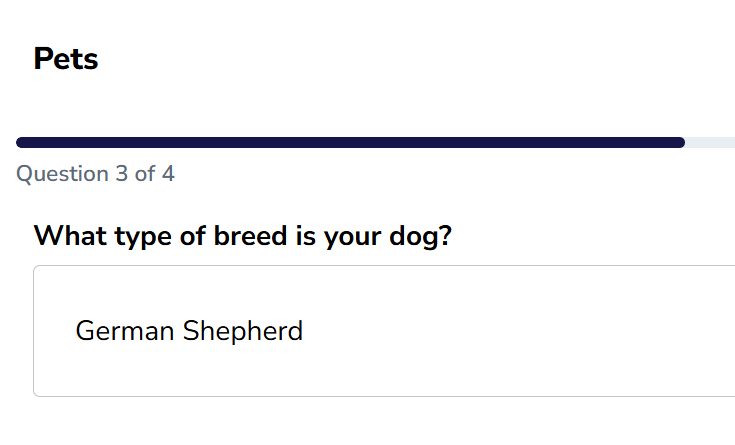 | 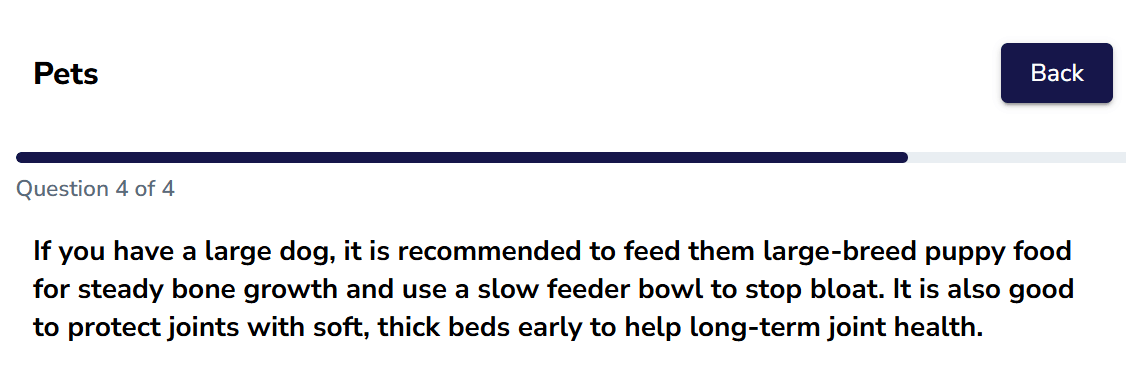 |
| Cat | 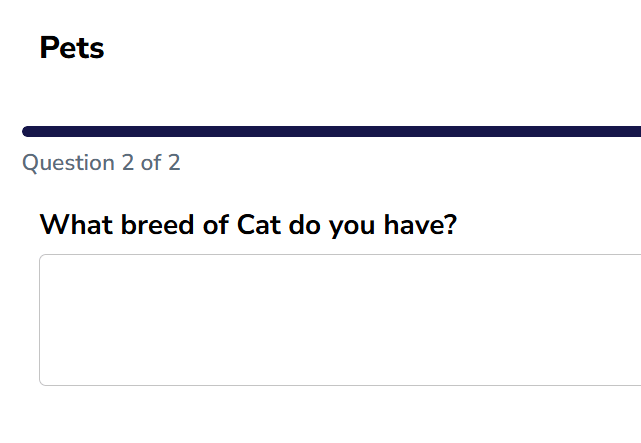 | ||
| Other | 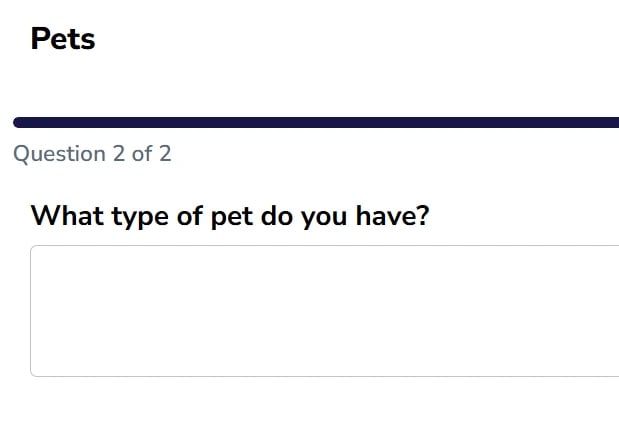 |