

Generating a Public API Key
- Log in to MSP Process as an admin-level user and navigate to Settings > Account Settings > API Keys.
-
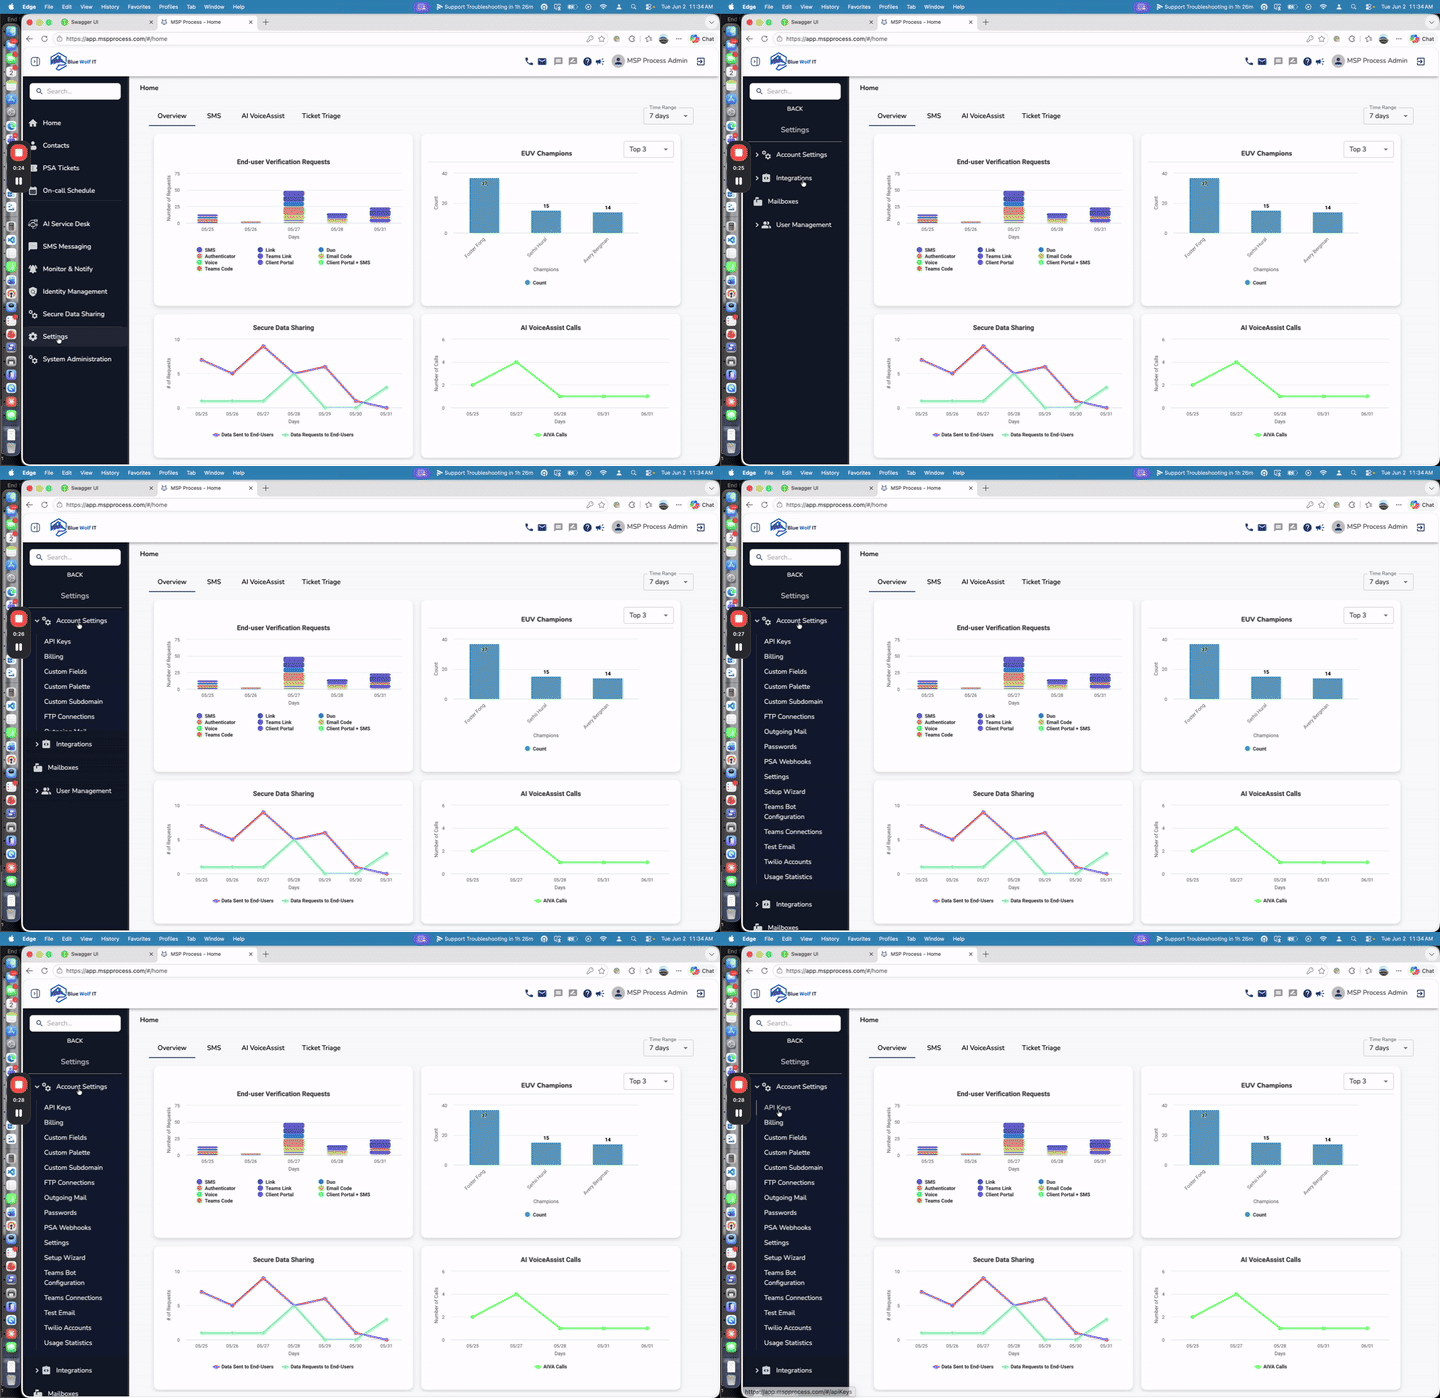
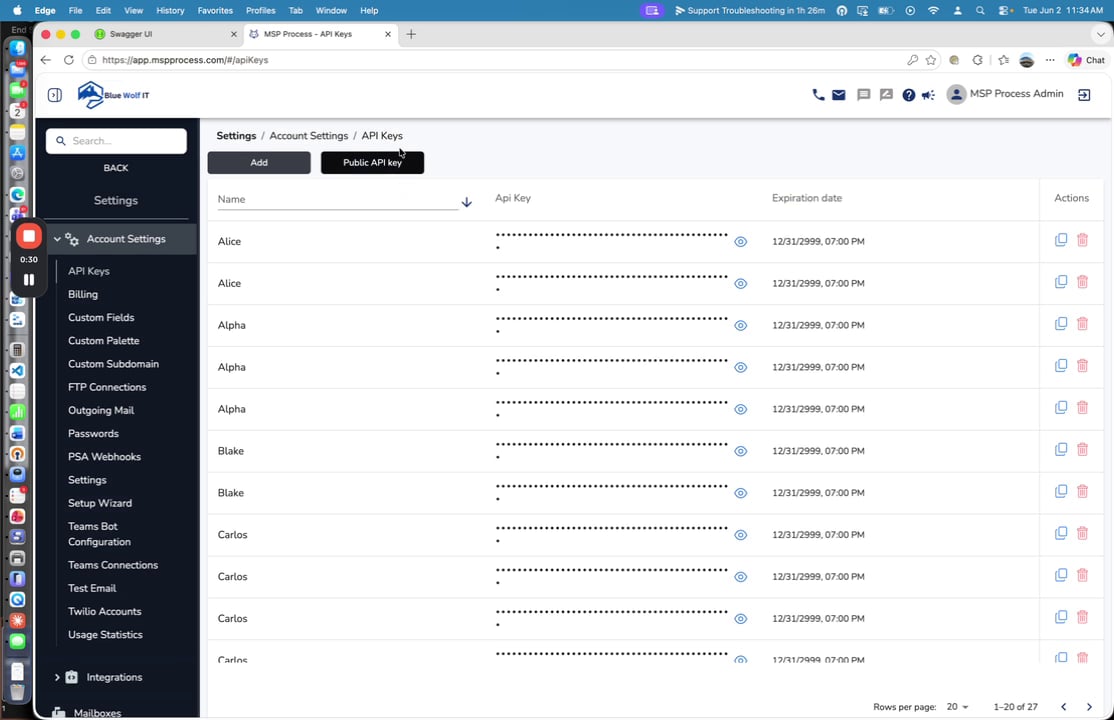
- Click the Public API key button to generate a new key.
-
-
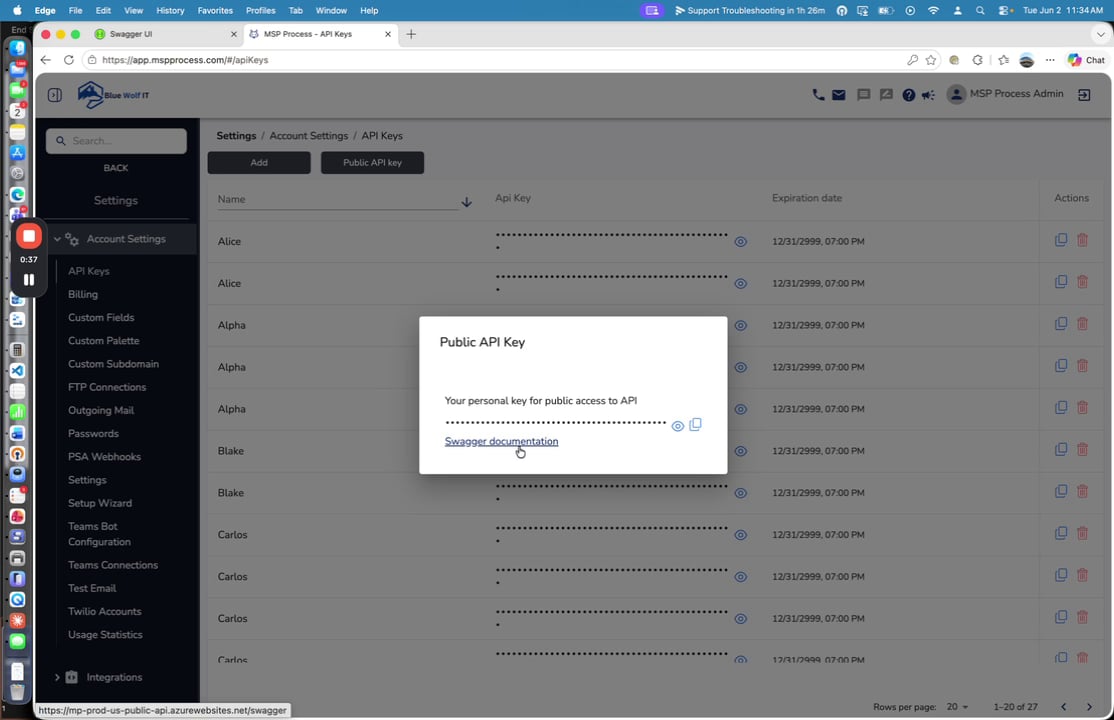
A modal will appear displaying your new API key. Copy this key and keep it secure. From this modal, you can also click the Swagger documentation link to access the API endpoints (or navigate directly to
api.mspprocess.com).
Authorizing and Testing the API via Swagger
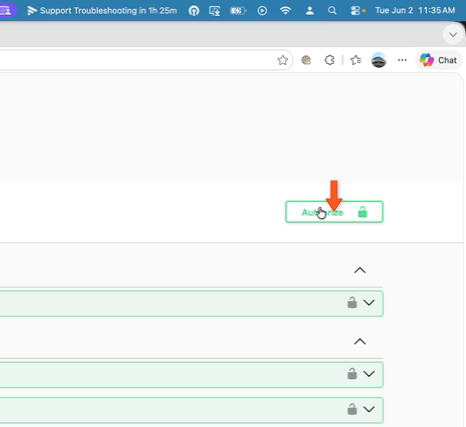
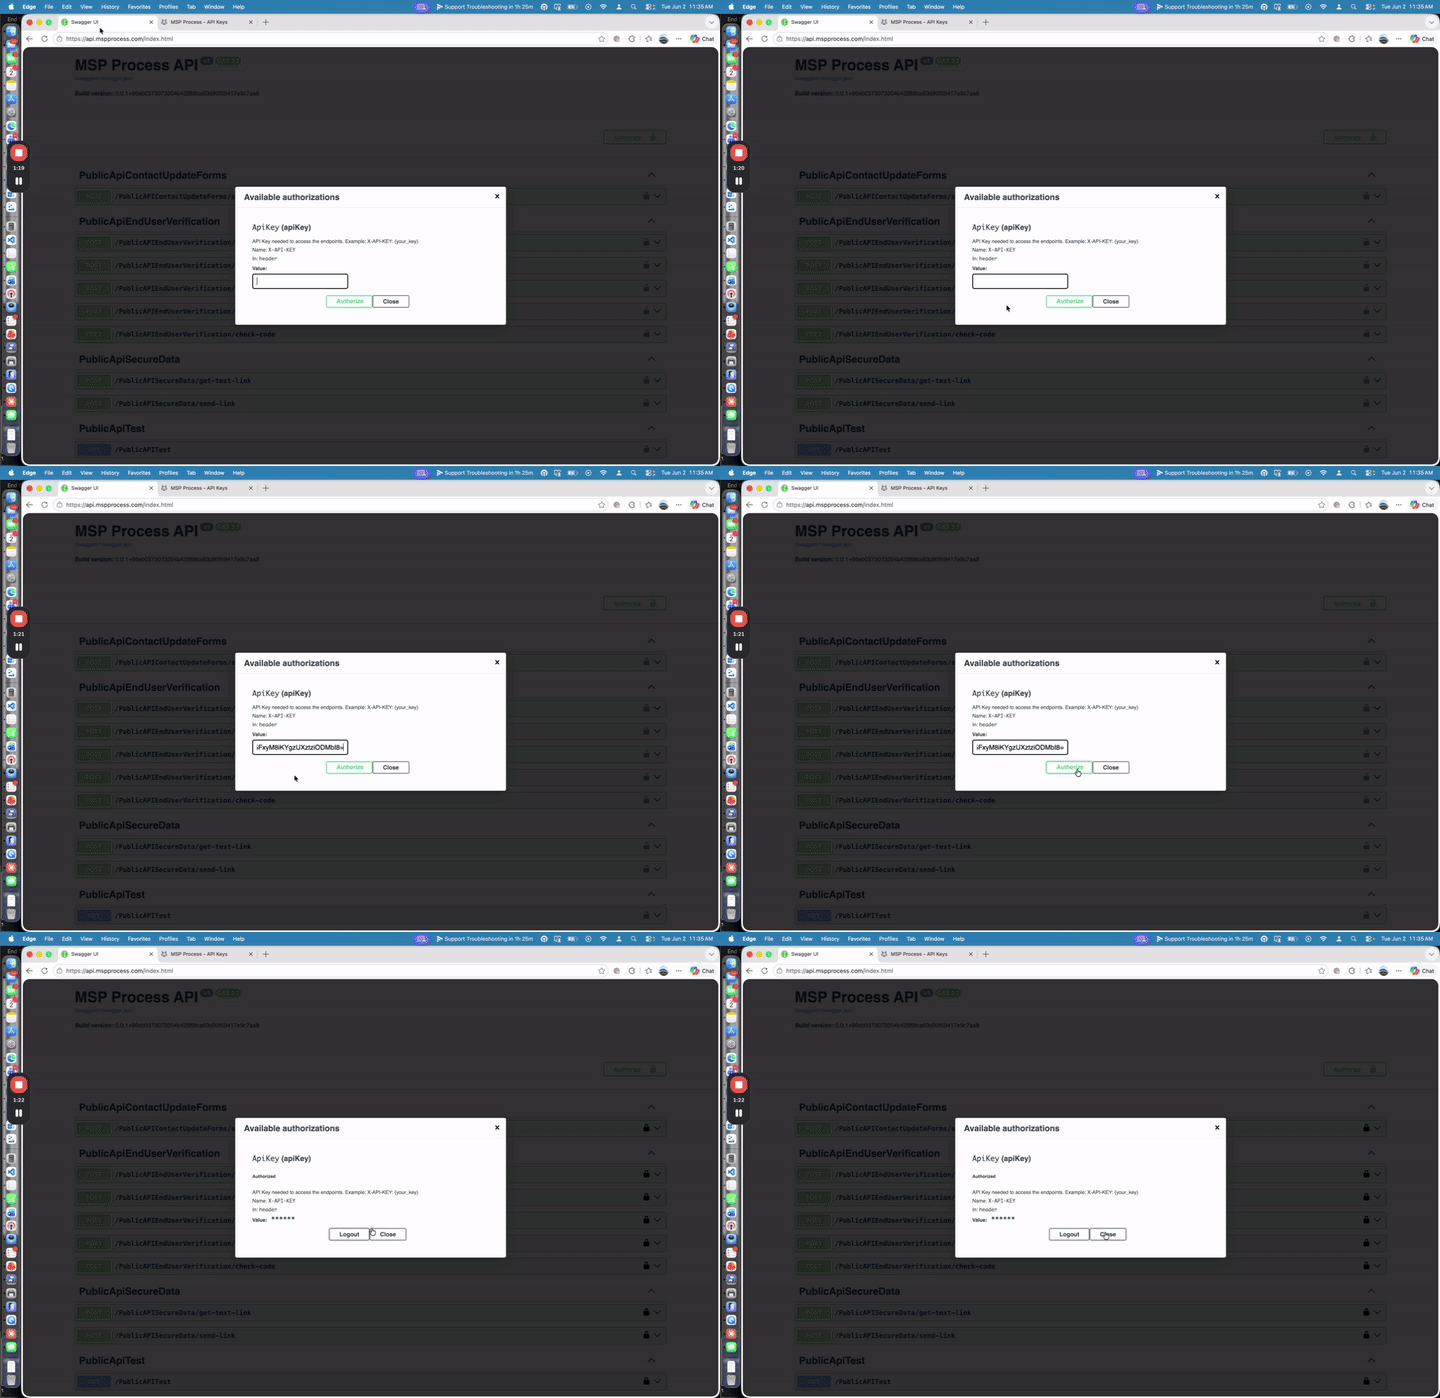
Once you have your API key, you can explore and test the available endpoints, which include sending contact update forms, sending end-user verification requests (via email, phone, Microsoft Authenticator, or Duo), and securely sharing data.- On the Swagger documentation page, click the Authorize button in the top right corner.
-
- Paste your copied API key into the Value field and click Authorize.
-
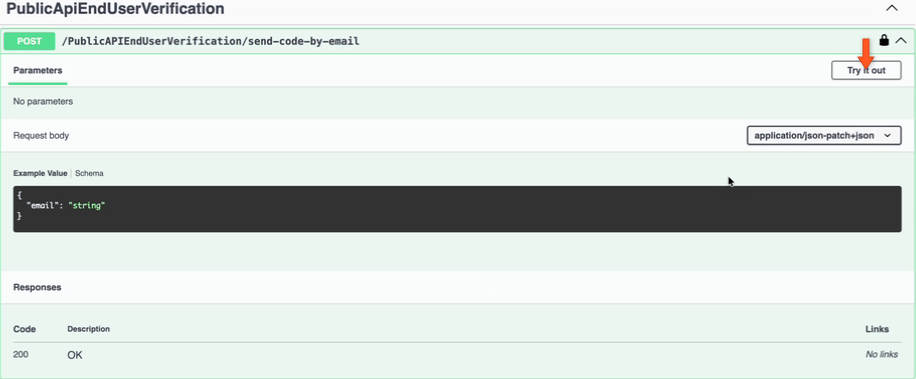
- Locate the endpoint you want to test (for example, sending a verification code via email) and click Try it out.
-
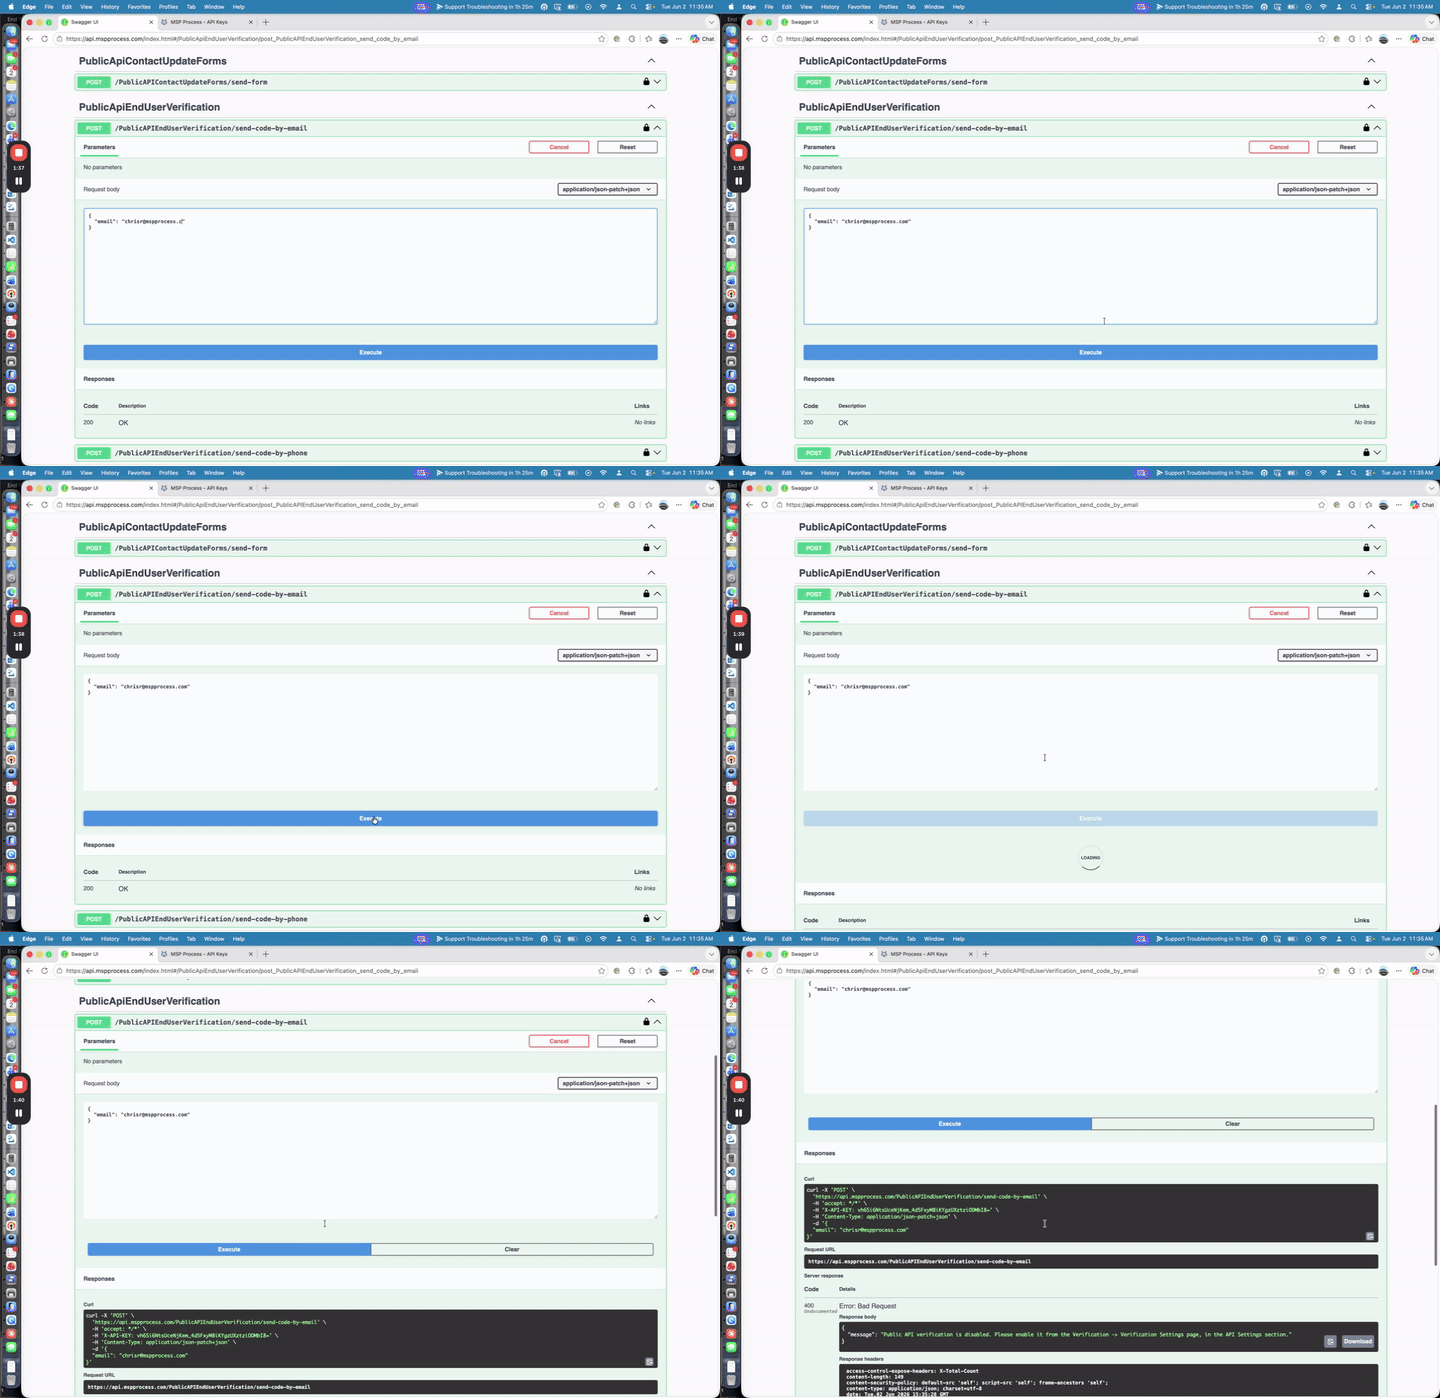
- Modify the request body with the necessary parameters (such as the target email address) and click Execute to send the test request. You will see the curl command and the server’s response below.
-
Enabling the End-User Verification API
Note: By default, the End-User Verification API is disabled. If you attempt to use these specific endpoints without enabling them, you will receive an error. You must enable the API and link it to your PSA so the system knows which contacts to verify against.
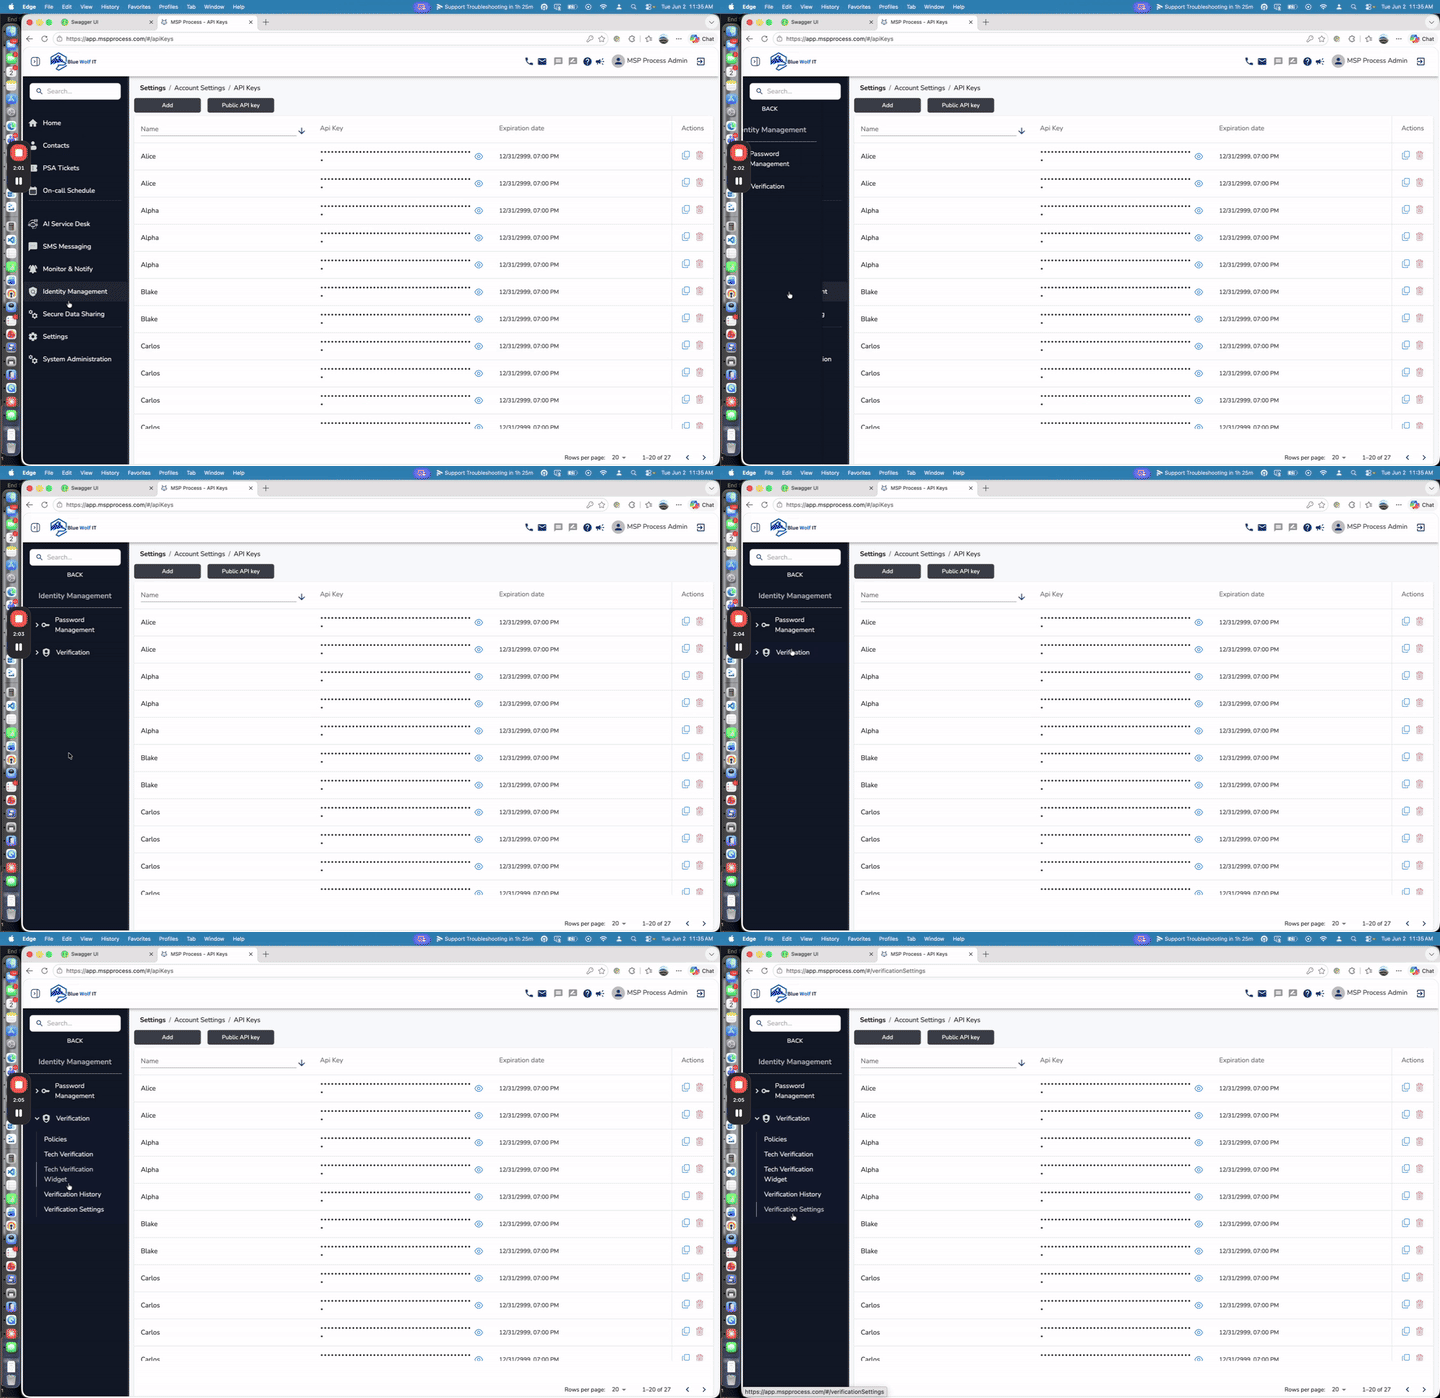
- In the MSP Process portal, navigate to Identity Management > Verification > Verification Settings.
-
- Click to expand the API Settings section.
-
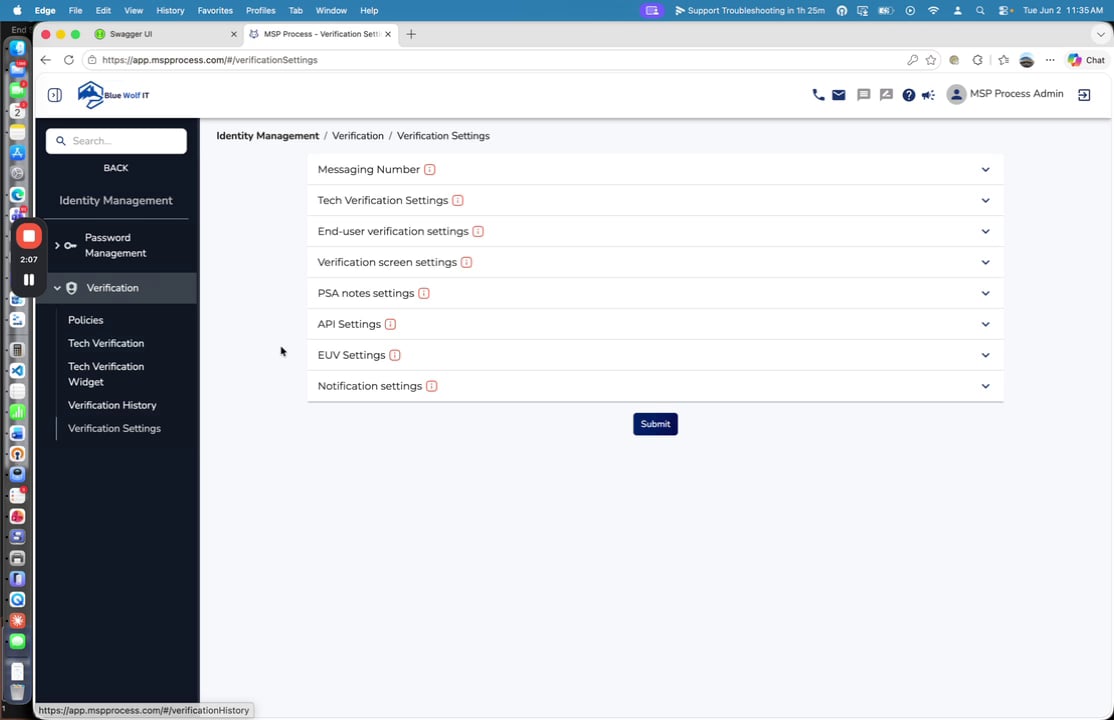
- Check the Enable box and select your primary PSA Integration from the dropdown menu.
-

- Click Submit to save your changes
- Return to the Swagger documentation and click Execute again. Your API call should now process successfully (e.g., returning a user not found message if the test email isn’t in your PSA, or a success message if it is).